Arduino Lilypad
Arduino has a product line called Lilypad, featuring two products, namely Lilypad and Lilypad USB.
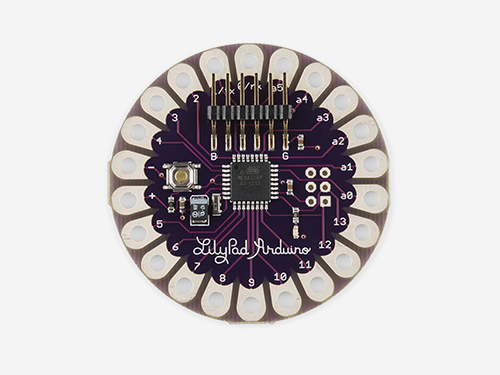
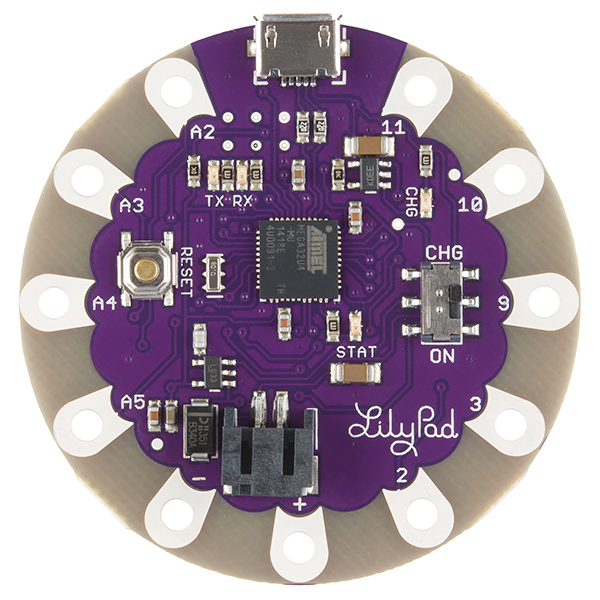
They are very light-weighted, and they are used in wearable devices. They are relatively expensive - $19.95 and $24.95 respectively.
So called “Lilytiny”
Last year (late 2016) I was a little bit “in” for IoT last year, so I ordered several “lilypad” devices on Taobao.com and asked friends to flight with them to Australia. It’s so cheap - ¥19 each, which equals $3.5USD or $4AUD.
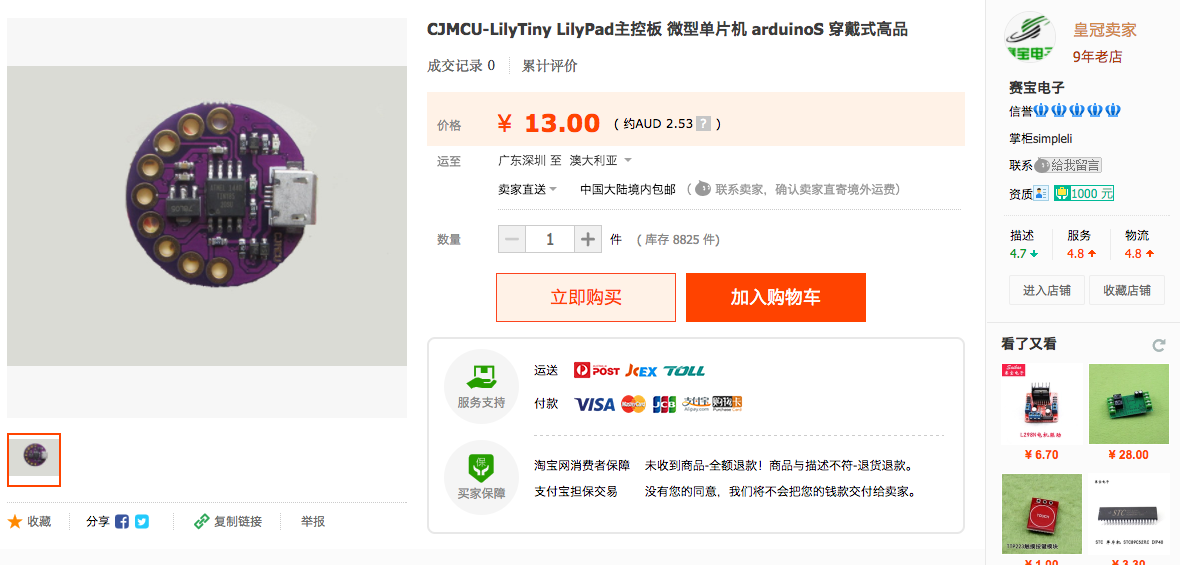
I did not get a chance to play around with it until earlier today, and that’s when I finally realized they are not Arduino Lilypad! They are kind of Lilypad clone, called “CJMCU LilyTiny”. The naming is so confusing, I can not believe it’s not intended.
Who is CJMCU
I could not find any material on CJMCU on Google, until I searched on Baidu. CJMCU is at this website, it’s also called “长江智动科技有限公司” in Chinese. They specialized in research & development of single-chip computers, as well as manufactouring ozone generator (?), electronics dryers (???)
How is the board itself?

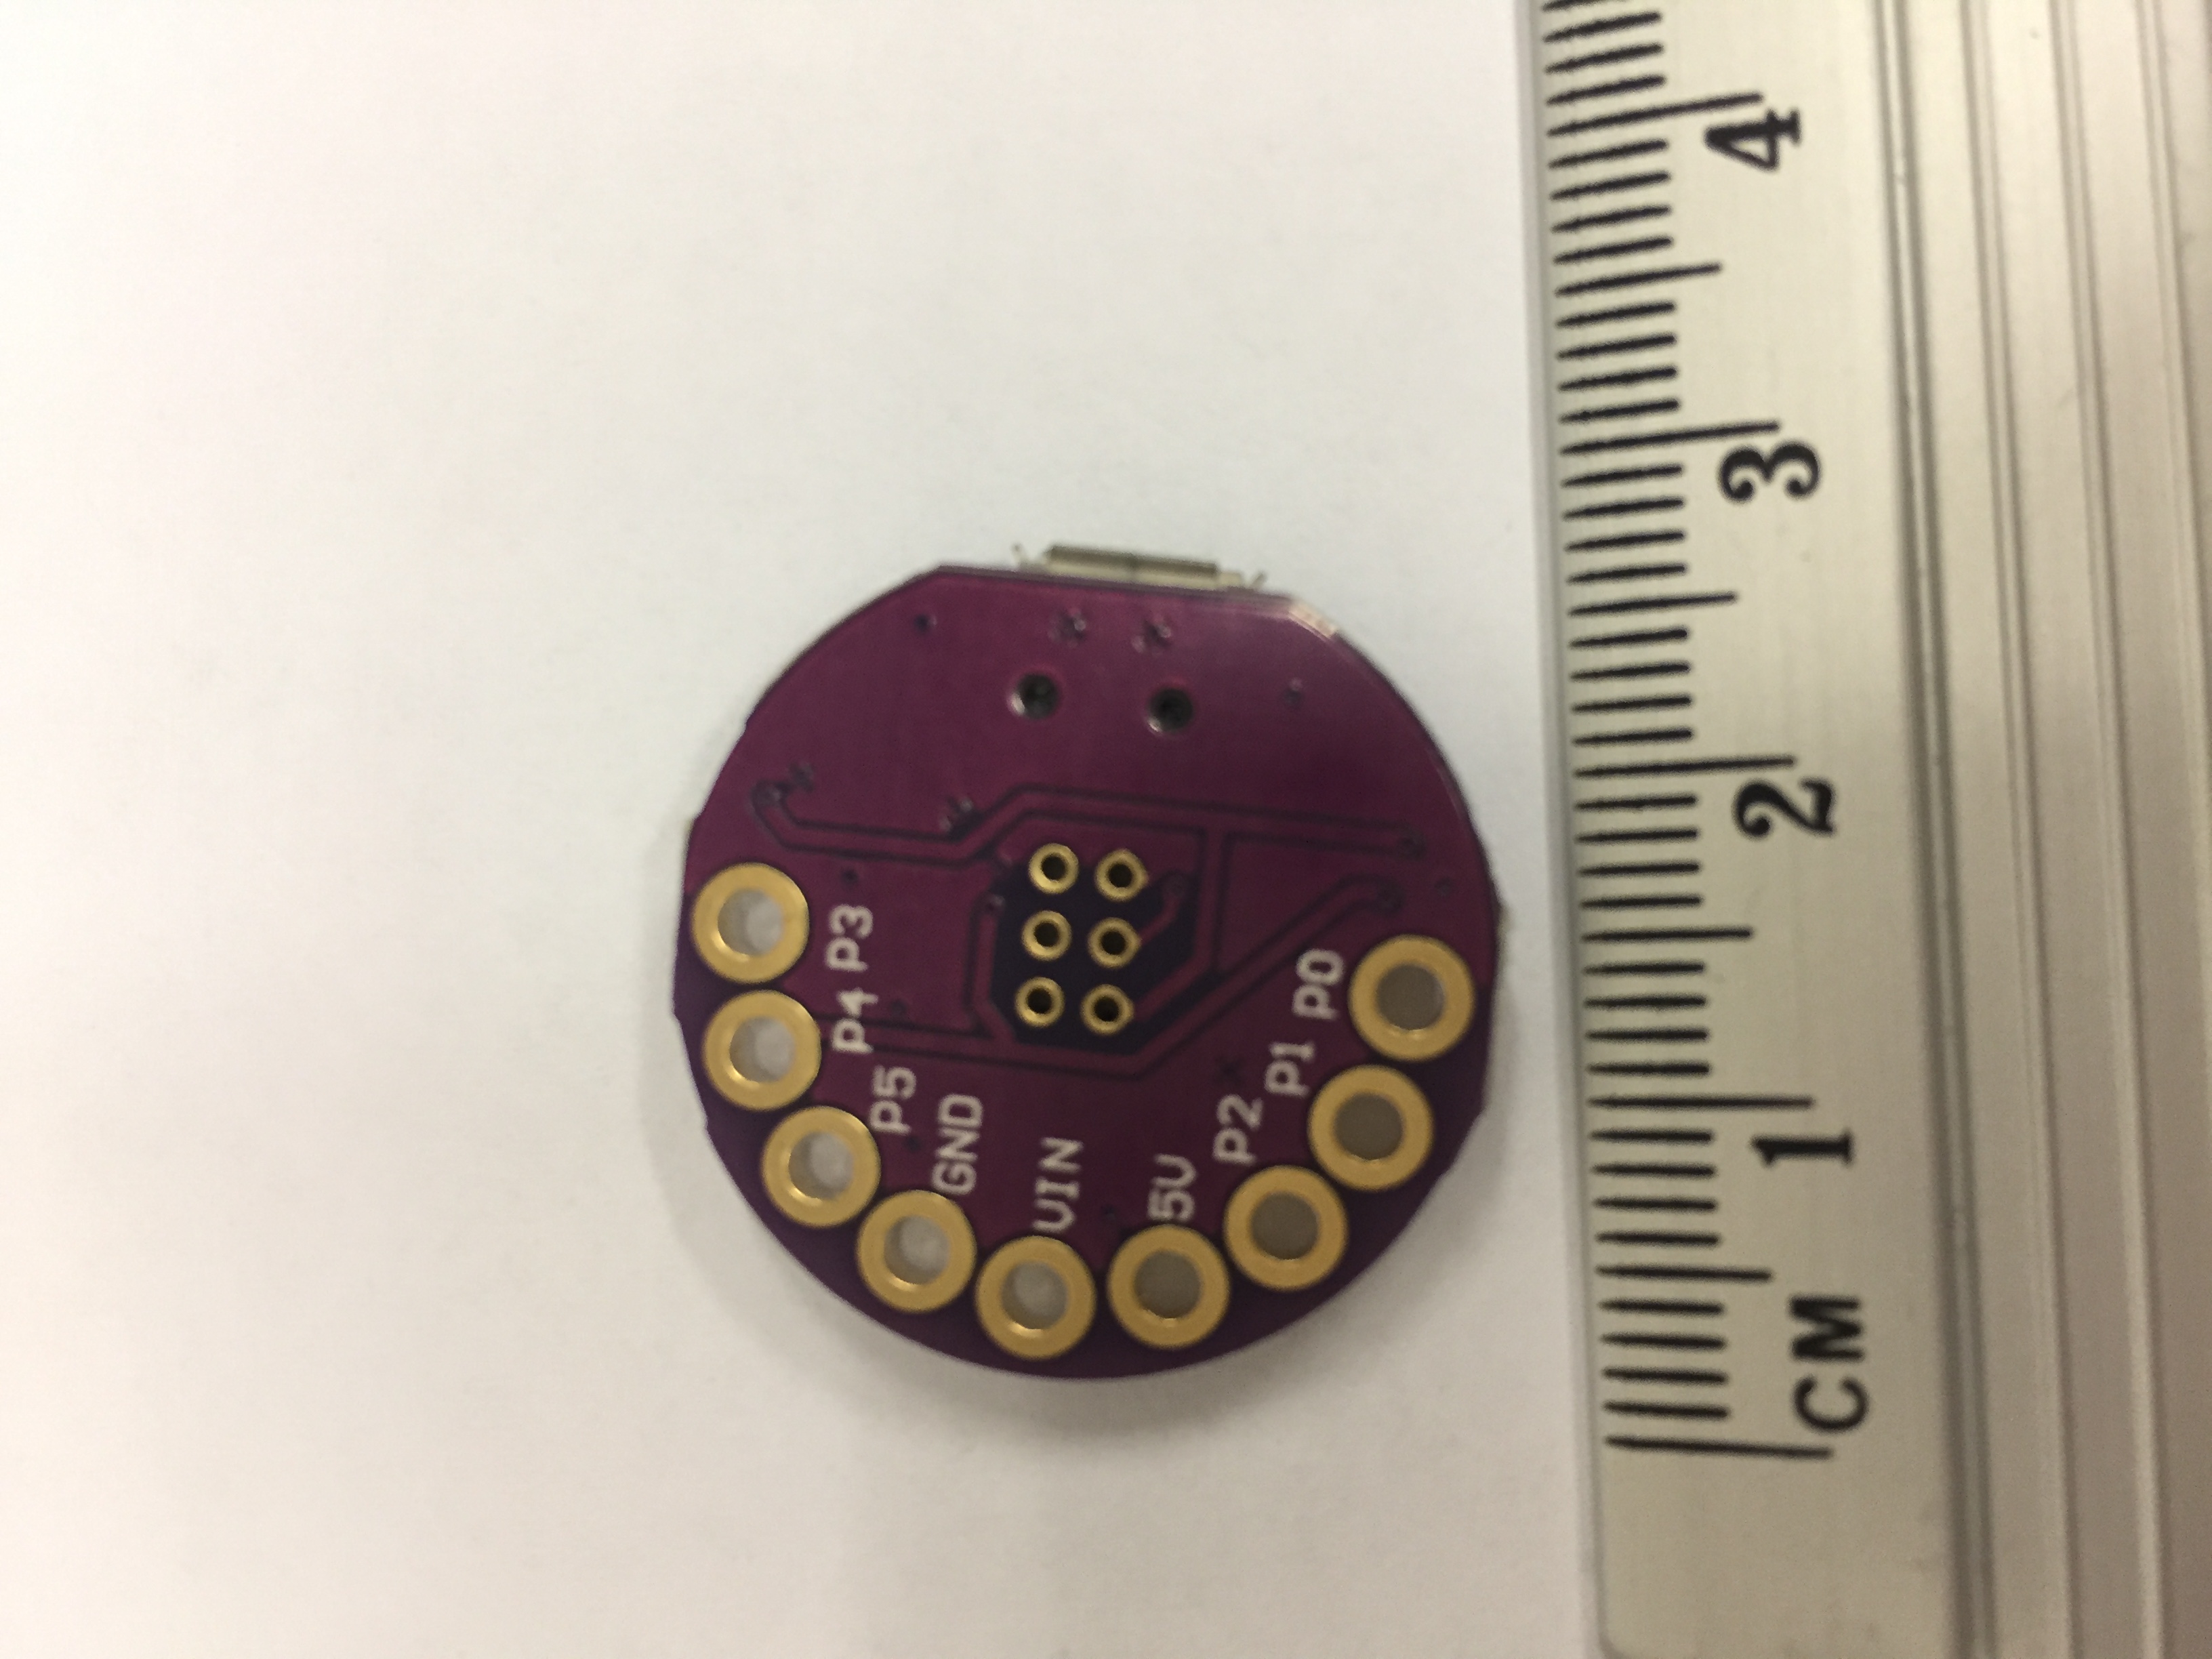
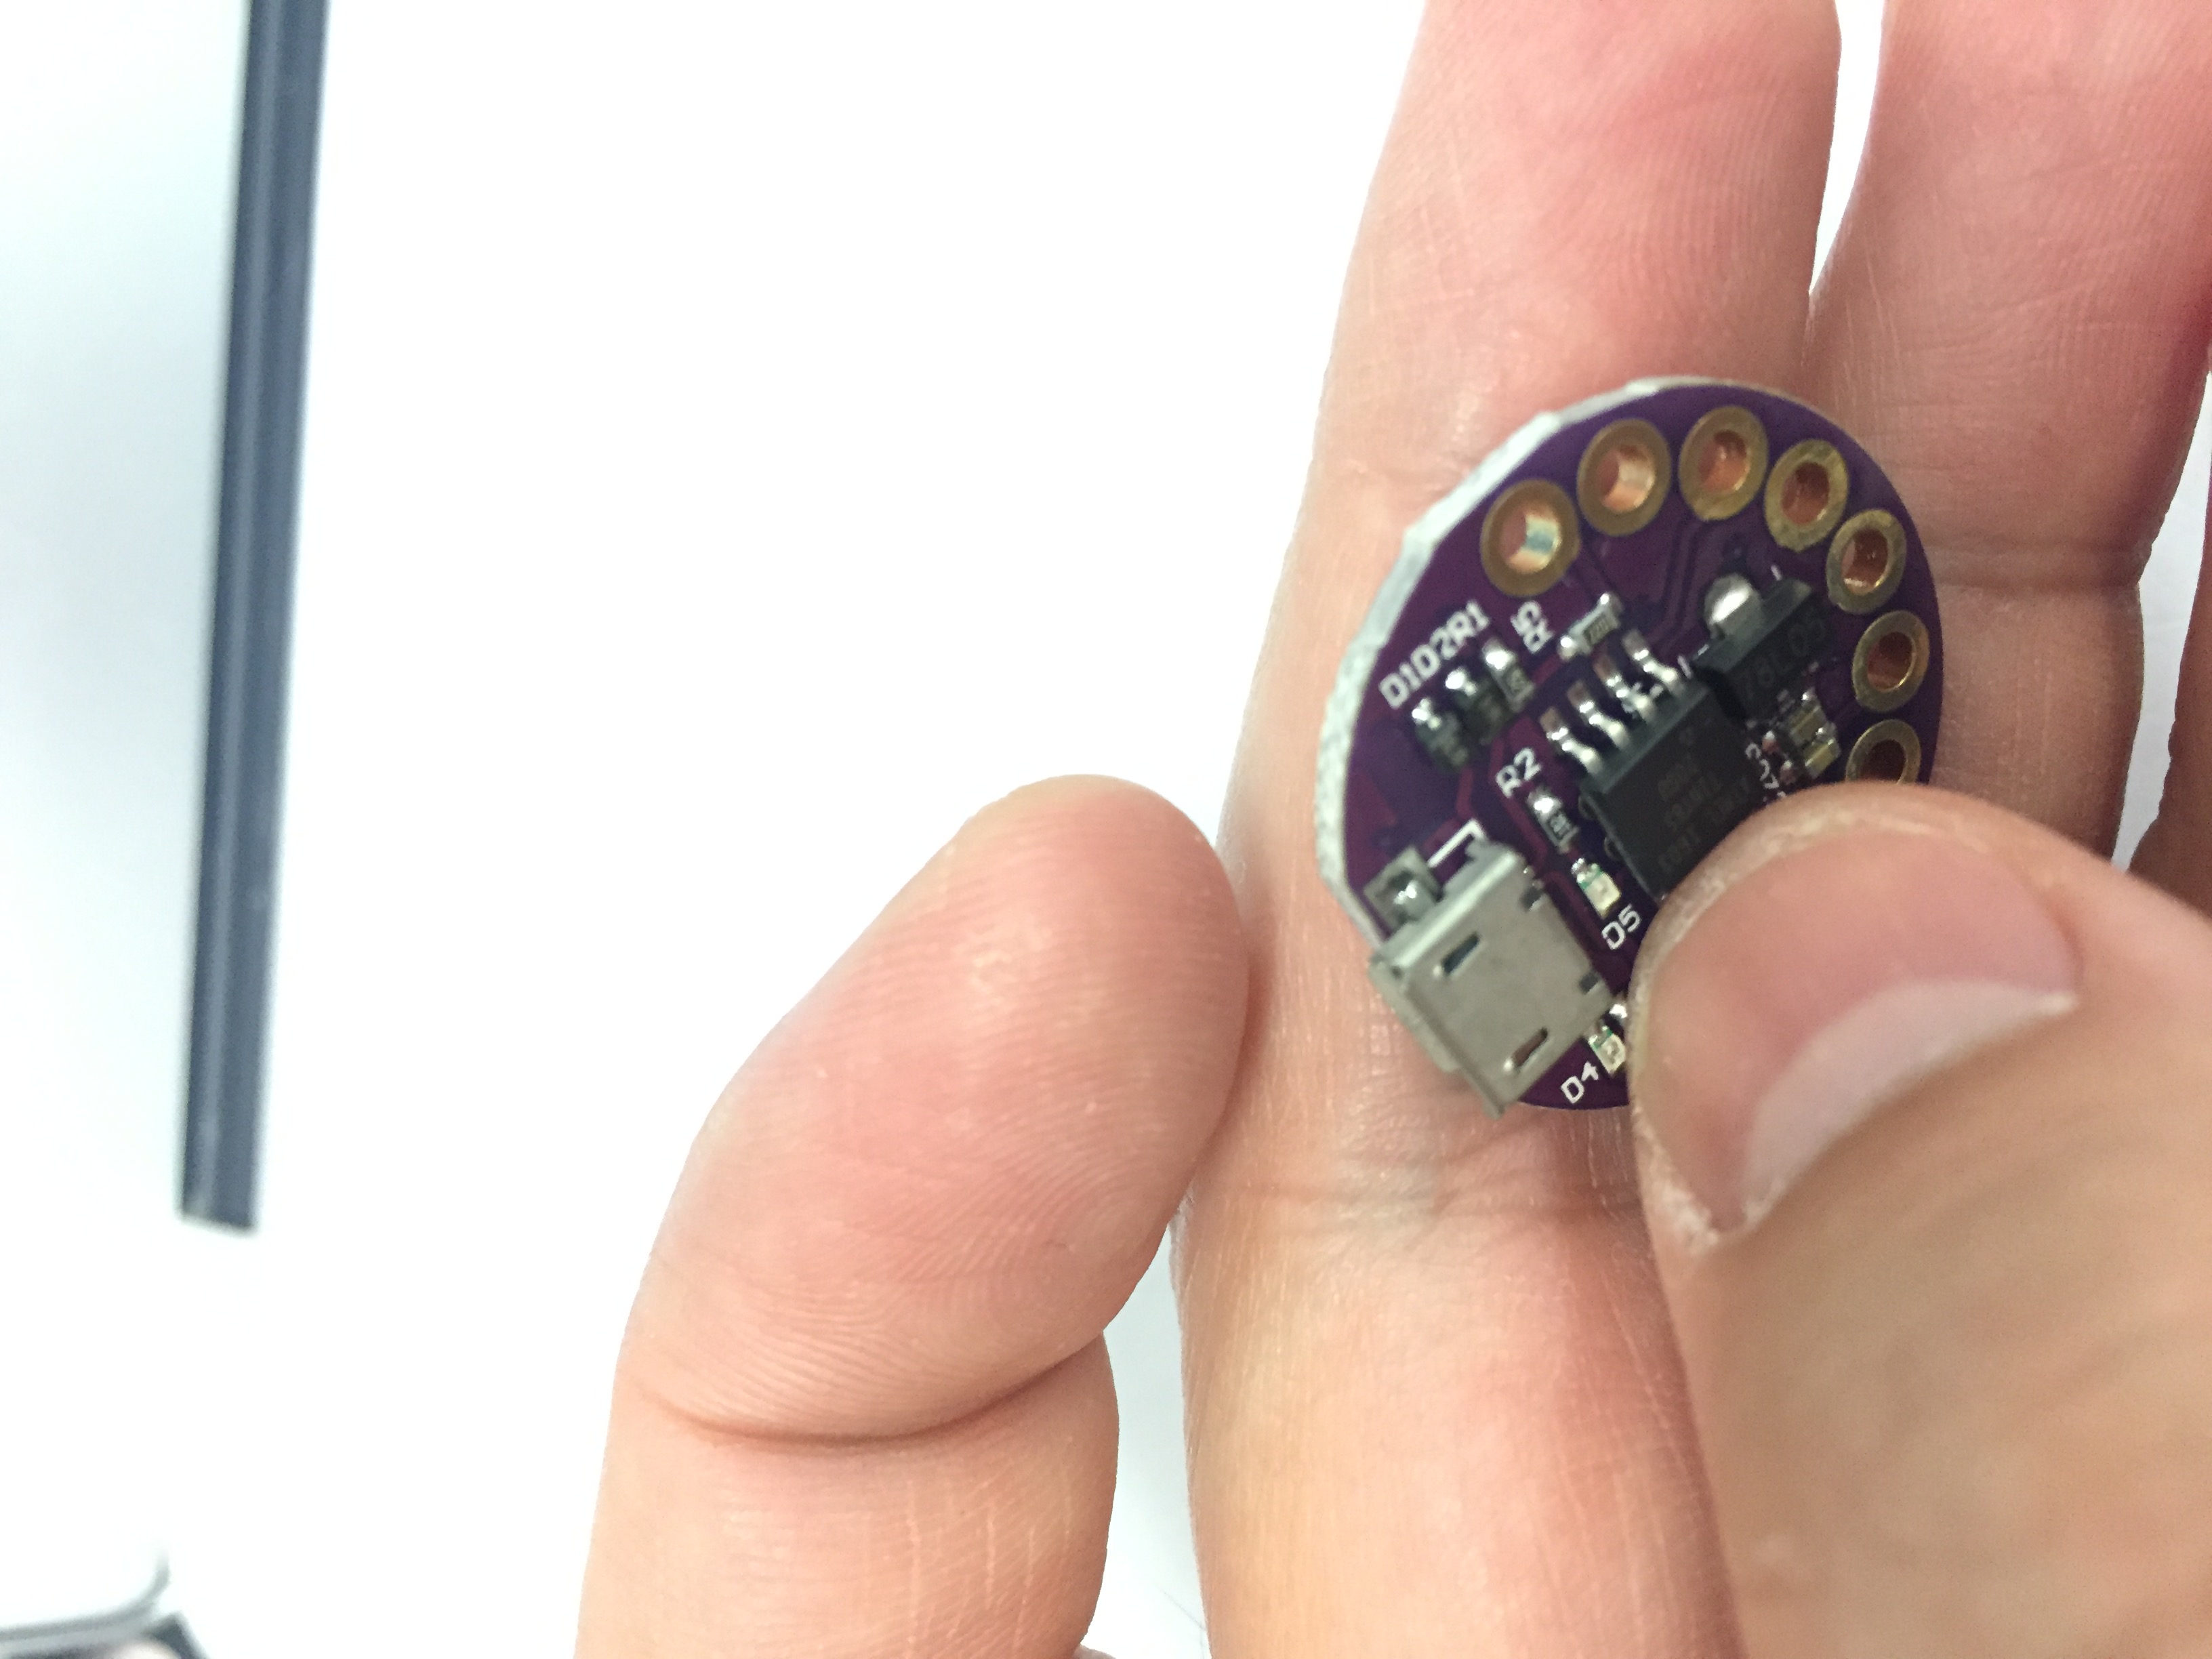
Edges of these LilyTiny board are quite rough, you can see clearly they were fabricated on a large PCB, and later got chopped off. Those copper pads are not high-quality either.
Chip wise, this LilyTiny uses Atmel ATTINY85, while original Lilypad uses higher-end ATmega168 or Atmega328v. ATTiny85 is a 8-bit AVR MCU with 8k Bytes flash chip. Although Arduino bootloader would take around 2k bytes
Since using ATTiny85, another limit of these LilyTiny would be, there are only 6 IO pins, while a Lilypad USB has 9 GPIO pins, and Lilypad has 14. The reason behind this is quite simple, ATTiny825 chip has only 8 pins, it’s really small:
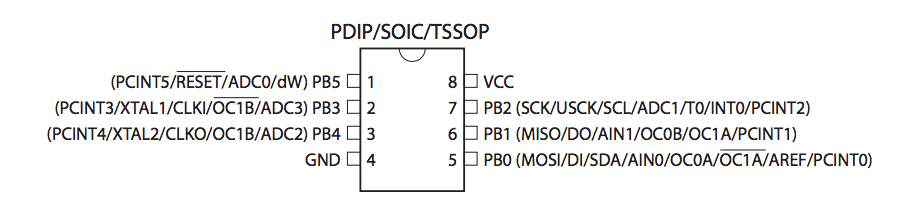
Attiny85 is not weak, it has ADC (Pin 2, 3, 4, 5), 2 PWM channels, Analog Comparator.
It’s quite energy efficient, in extreme situations, it can go as low as 300uA @ 1.8V, 1MHz in active state, and 0.1uA in power-down mode.
How to use it?
Tonight, I spent some quality time on it, and finally got it running!
- Include LilyTiny board configurations
- Update board, and pick the right board
- Restart Arduino IDE
- Verify/Compile/Upload sketch
Step 1: Include LilyTiny board configurations
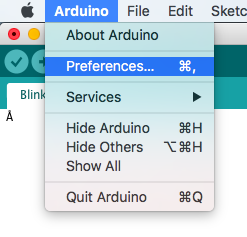
1. Click Arduino - Preferences...
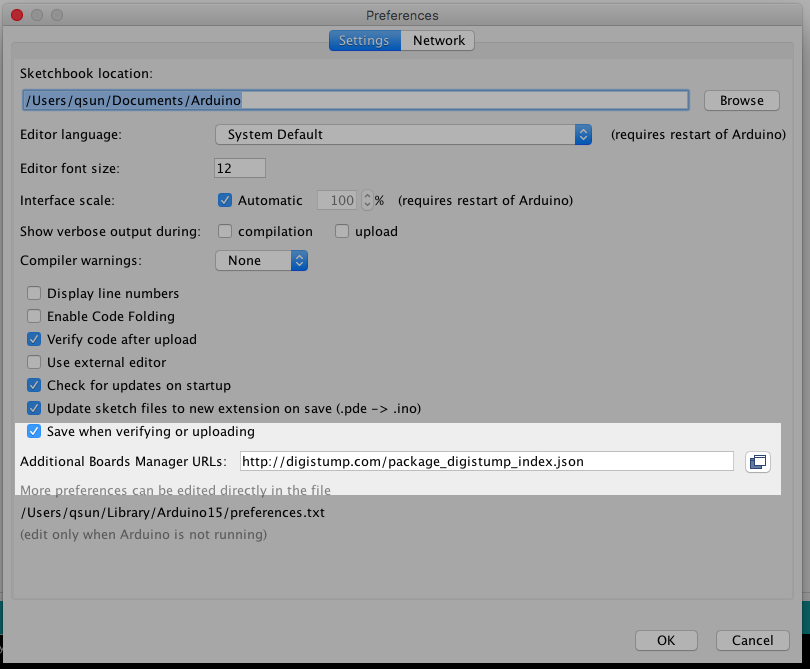
2. In the popup window, paste http://digistump.com/package_digistump_index.json into “Additional Boards Manager URLs: “
3. Hit “OK”
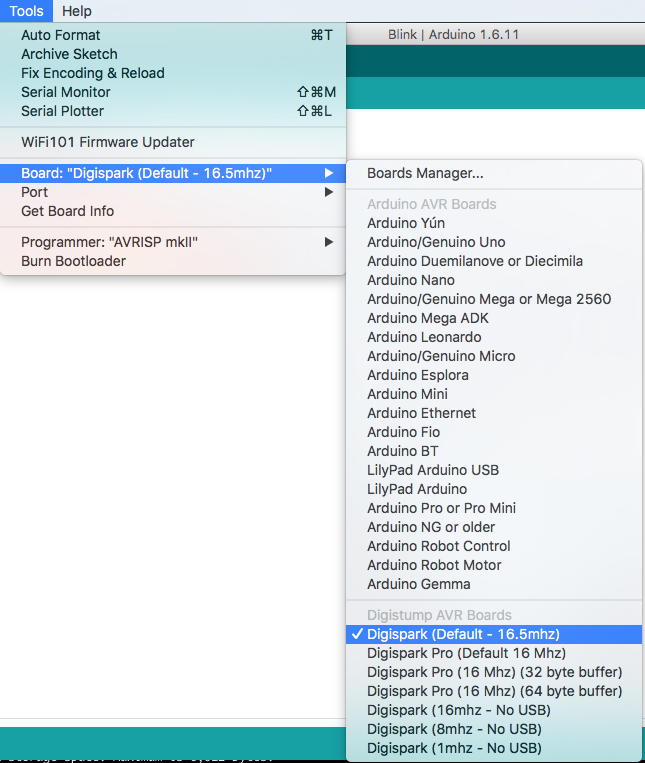
Step 2: Update board, and pick the right board
1. Click Tools - Board - Boards Manager...
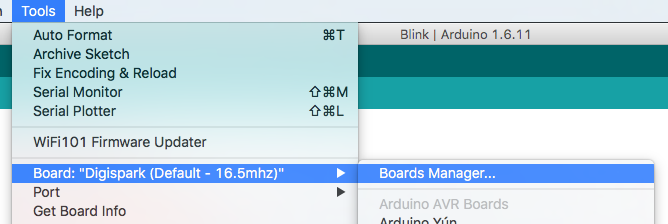
2. Install Digistump AVR boards
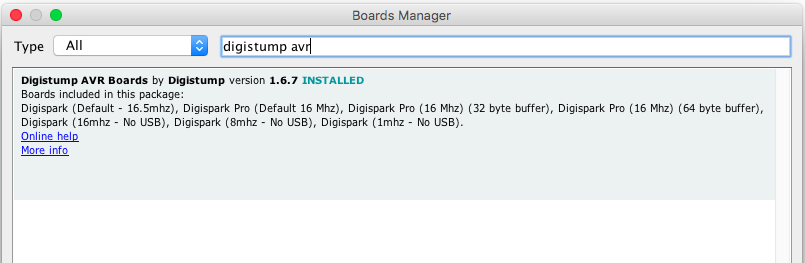
After this step, your Arduino IDE now has the capability to compile and upload to Digistump AVR boards, including LilyTiny ones (it’s called Digispark).
3. Pick the right board - Digispark (Default - 16.4MHz)
Step 3: Restart Arduino IDE
Step 4: Verify/Compile/Upload sketch
This is interesting part - not like other boards, you can’t see these LilyTiny boards in the “port” section, and you don’t need to select a port prior to upload.
Every time you upload to the board, the board manager will ask you to plug the board via USB, and detect the port automatically.
Wait until you see this, and plug USB cable

The following is the code I wrote to make pin-0 to switch between 1 and 0 every one second:
1
2
3
4
5
6
7
8
9
10
void setup() {
pinMode(0, OUTPUT);
}
void loop() {
digitalWrite(0, HIGH);
delay(1000);
digitalWrite(0, LOW);
delay(1000);
}
And here is the demo with a vintage multimeter: