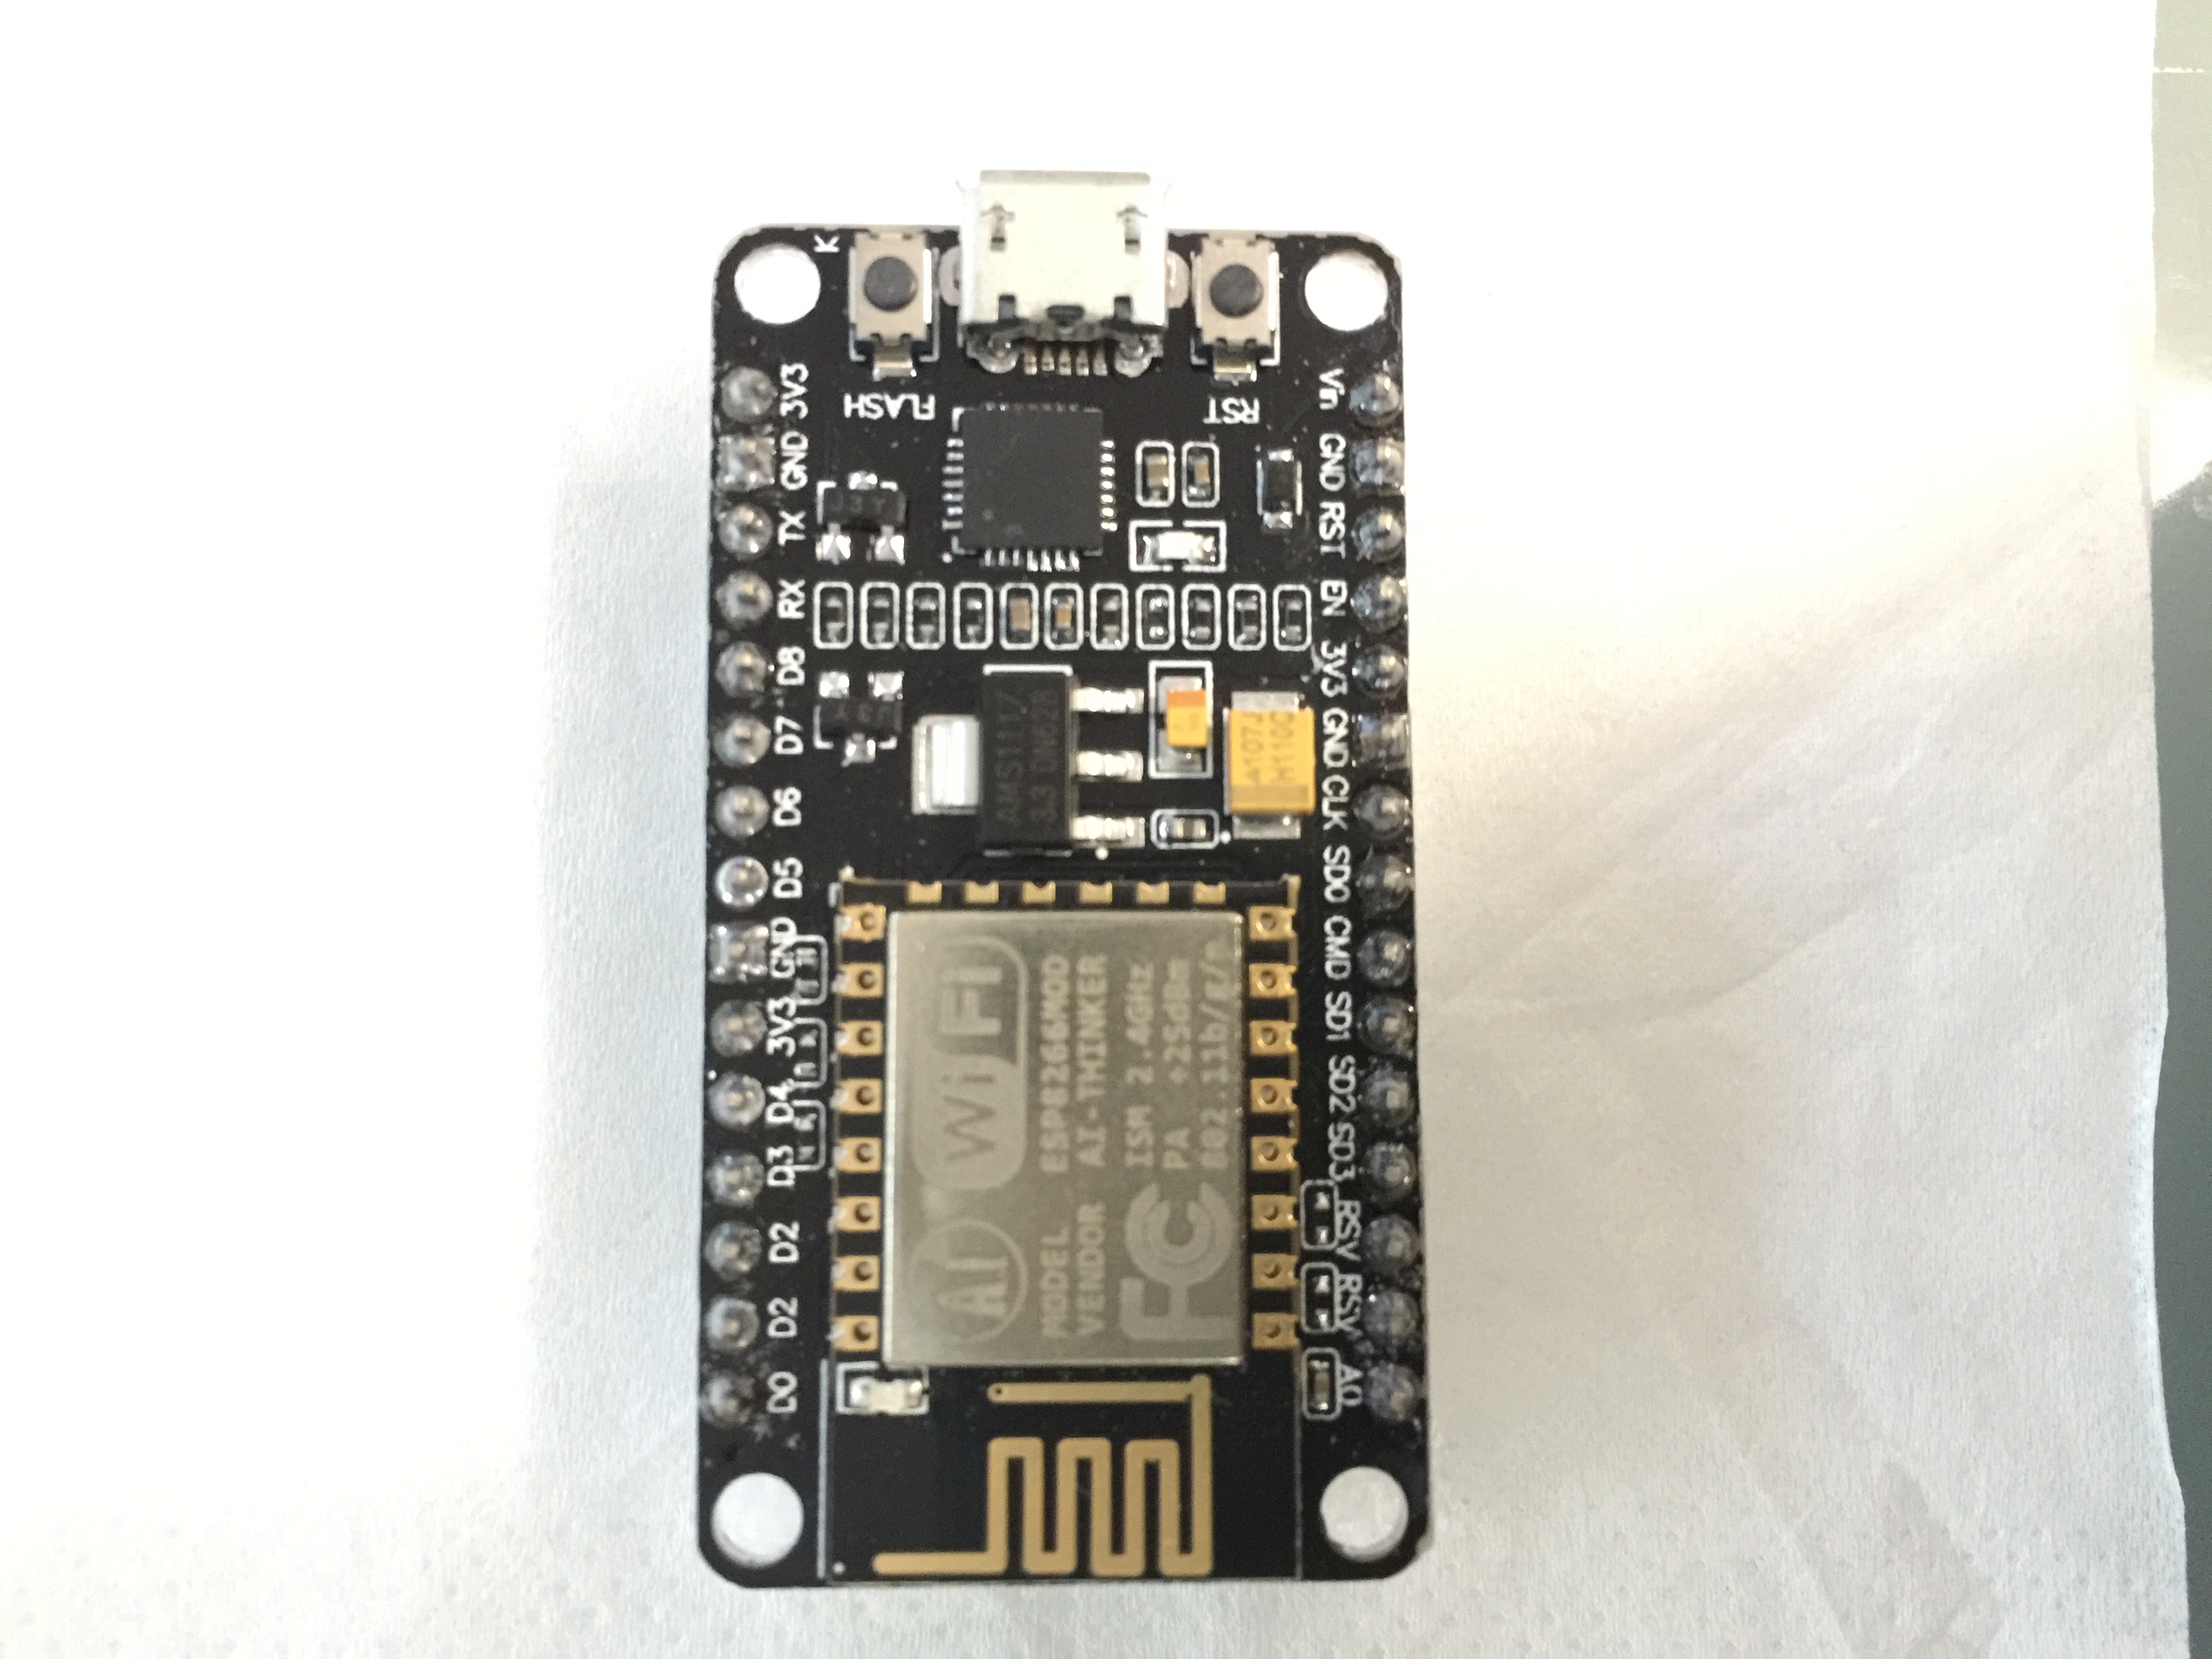
I purchased these ESP8266 modules from ebay several weeks ago, but I did not get a chance to play around it. So yesterday night and this morning, I have spent some quality weekend time on it, trying to get it talking to my WiFi network.
I managed to burn some codes into the module using Arduino IDE, but when I try to revert it to original state - which accepts AT commands with UART port, I realised I can hardly find any information about it - the original ESP8266 firmware which supports AT commands, or at least there is no easy to follow guide.
I noticed a couple of caveats during the process and I write them down here to save some time for people like me.
First of all, identify your module and chip. This relies on a tool called esptool.py. It’s very simple to install, just run pip install esptool within a python virtualenv environment. This tool has lots of features, like
* write and read memory
* write and read flash memory
* read module MAC address
* identify flash chip
It doesn’t matter what the seller has told you, always run chip_id and flash_id on your module to double check by yourself. Like this is the info for the modules I have,
flash_id
----
esptool.py v2.0.1
Connecting........_
Detecting chip type... ESP8266
Chip is ESP8266
Uploading stub...
Running stub...
Stub running...
Manufacturer: e0
Device: 4016
Detected flash size: 4MB
Hard resetting...

chip_id
----
esptool.py v2.0.1
Connecting........_
Detecting chip type... ESP8266
Chip is ESP8266
Uploading stub...
Running stub...
Stub running...
Chip ID: 0x00ac6691
Hard resetting...
One huge pitfall here is, the unit for detected flash size is MBits rather than MBytes. Thus the “detected flash size” should be 512kBytes instead of 4MBytes.
This is critical, since 512kBytes was the smallest flash memory size in ESP8266 and other chips. This limits the applicable firmware version.
As per stated in ESP8266 SDK 1.5.0 release note,
Since this ESP8266_NONOS_SDK_V1.5.0, AT firmware is too large to fit in 4Mbit (512KB) Flash. Please use 8Mbit (1MB) or larger Flash.
The last available AT firmware for ESP8266 with 512KBytes is actually v1.4.0, it can be found on this page
After unzip the sdk file, use this command to restore the AT firmware:
esptool.py --port /dev/cu.SLAB_USBtoUART write_flash -fm dio -fs 512KB 0x00000 bin/at/noboot/eagle.flash.bin 0x40000 bin/at/noboot/eagle.irom0text.bin 0x7c000 bin/esp_init_data_default.bin 0x7e000 bin/blank.bin
Address and file mapping:
| Filename | Address |
| eagle.flash.bin | 0x00000 |
| eagle.irom0text.bin | 0x40000 |
| esp_init_data_default.bin | 0x7c000 |
| blank.bin | 0x7e000 |
And test with 115200 baud:
ready
>> AT


OK
>> AT+GMR

AT version:0.50.0.0(Sep 18 2015 20:55:38)
SDK version:1.4.0
compile time:Sep 18 2015 21:32:07
OK
That’s it. It’s restored to most recent AT-enabled ESP8266 firmware. I also mirrored ESP8266 AT Instruction set v1.4.pdf for future reference.
Now, let’s connect to wifi:
>> AT+CWMODE?
+CWMODE:2

OK
>> AT+CWMODE=3

OK
>> AT+CWLAP
+CWLAP:(....masked)
+CWLAP:(....masked)

OK
>> AT+CWJAP="wifi ssid","wifi password"
WIFI CONNECTED
WIFI GOT IP

OK
>> AT+CWJAP?
+CWJAP:"my ssid","... mac masked",5,-55

OK
>> AT+CIPSTATUS

STATUS:2

OK
>> AT+PING="qsun.me"

+28

OK
>> AT+CIFSR

+CIFSR:APIP,"192.168.4.1"
+CIFSR:APMAC,"... ap mac masked"
+CIFSR:STAIP,"192.168.0.115"
+CIFSR:STAMAC,"... mac masked"

OK
And that’s it. I’ll probably set it up to talk to DumbNode in the near future.

